Elevate Your Brand with Live Action Music: Comprehensive Audio and Visual Production Services in Sacramento. Our team is dedicated to transforming your creative visions into reality, ensuring each project resonates with your target audience. Partner with Live Action Music to experience unparalleled production quality and service.
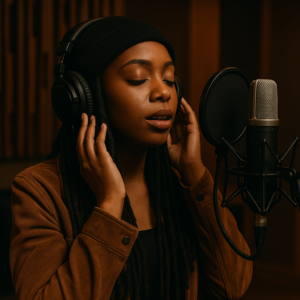
A professional environment for musicians and artists to record and produce their music with the assistance of experienced engineers.
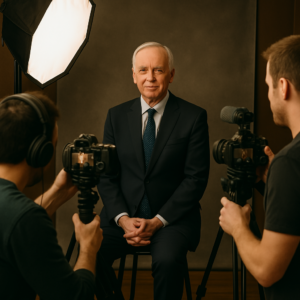
Photo / Video
Comprehensive visual production services, including music videos, corporate videos, interviews, and high-quality photography sessions.
Live Streaming
Seamless live streaming services for events, performances, and sessions, providing clients with valuable content for post-event engagement.
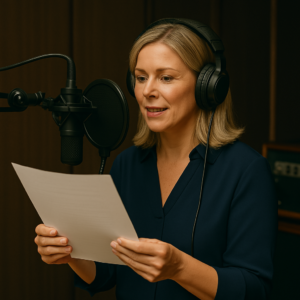
Voiceover Recording
Professional voiceover services for corporate and commercial projects, ensuring clear and impactful messaging.
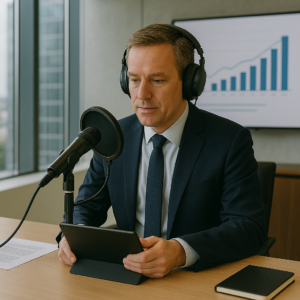
Corporate Sound Work
High-quality audio solutions for corporate presentations, advertisements, and training materials.
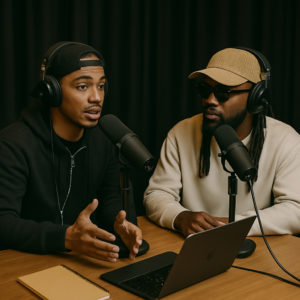
Podcast Recording
State-of-the-art facilities equipped for podcast production, offering both in-studio and remote recording capabilities.
We Are Live Action Music
At Live Action Music, we are a dedicated team of professionals with over 40 years of combined experience in the music industry. Our mission is to provide exceptional audio and visual production services that bring our clients’ creative visions to life. Located in downtown Sacramento, California, our state-of-the-art studio offers a comprehensive range of services, including voiceover recording, corporate sound work, podcast production, artist recording, videography, photography, and live stream recording. We pride ourselves on using industry-standard equipment and cutting-edge technology to ensure the highest quality results. At Live Action Music, we are committed to exceeding client expectations and delivering content that resonates with audiences.
Our studio is situated at 2600 X Street, Sacramento, CA 95818.
What services do you offer?
We provide a range of services, including voiceover recording, corporate sound work, podcast recording, artist recording, videography, photography, and live stream recording.
How can I book a session?
To book a session, please fill out the contact form, or call us directly at 1(916)365-2422.
What are your rates for studio sessions?
Our rates vary depending on the service and session length. For detailed pricing information, please contact us directly.
Do you require a deposit to book a session?
Yes, a deposit is required to secure your booking. The amount and payment methods will be discussed during the booking process.
What is your cancellation policy?
We require a minimum of 24 hours’ notice for cancellations or rescheduling. Cancellations made with less than 24 hours’ notice may forfeit the deposit.
Can I bring my own equipment or instruments?
Absolutely! You’re welcome to bring your own equipment or instruments. Please inform us in advance so we can make the necessary arrangements.
Do you offer remote recording services?
Yes, we provide remote recording options and can connect with clients via platforms like Source Connect, Riverside.fm, and Zoom.
How soon will I receive my recorded content after the session?
Turnaround times vary based on the project. We strive to deliver recorded content promptly and will provide an estimated delivery time during your session.
Do you offer mixing and mastering services?
Yes, we offer comprehensive mixing and mastering services to ensure your recordings meet professional standards.
Is parking available at your studio?
Yes, we have street parking available for our clients at the studio location, including 10 hour tour bus parking.
Industry Leading Plug-Ins & Software
Live Action Music stays up to date with the majority of the industry leading plugins.
Unlock professional-grade sound with our extensive collection of plugins and software. From the precision of Auto Tune Pro, the vastness of Native Instruments Komplete Ultimate 14 Collector’s Edition, to the comprehensive libraries of Output’s Everything Bundle and Waves Ultimate Bundle – we’re equipped to elevate your tracks to radio-ready status. Dive deep into the warmth of Studer Tape Saturation, the mastery of Ozone 10 Mastering Suite, the clarity of Manley Voxbox, and the finesse of Avalon and Teletronix. Whether you’re tweaking tones with Melodyne, shaping sounds with Pultec EQP, or exploring the expansive range of Universal Audio DSP Plug-ins, our music studio offers industry-leading brands to ensure your music shines.
Beyond the software and plugins, our dedicated team of sound engineers and producers brings years of industry experience to the table, ensuring each track is treated with the utmost care and expertise. We understand the intricacies of sound design, mixing, and mastering, and our mission is to bridge the gap between your musical vision and a polished, professional output. Join us, and let’s craft soundscapes that resonate, inspire, and captivate.
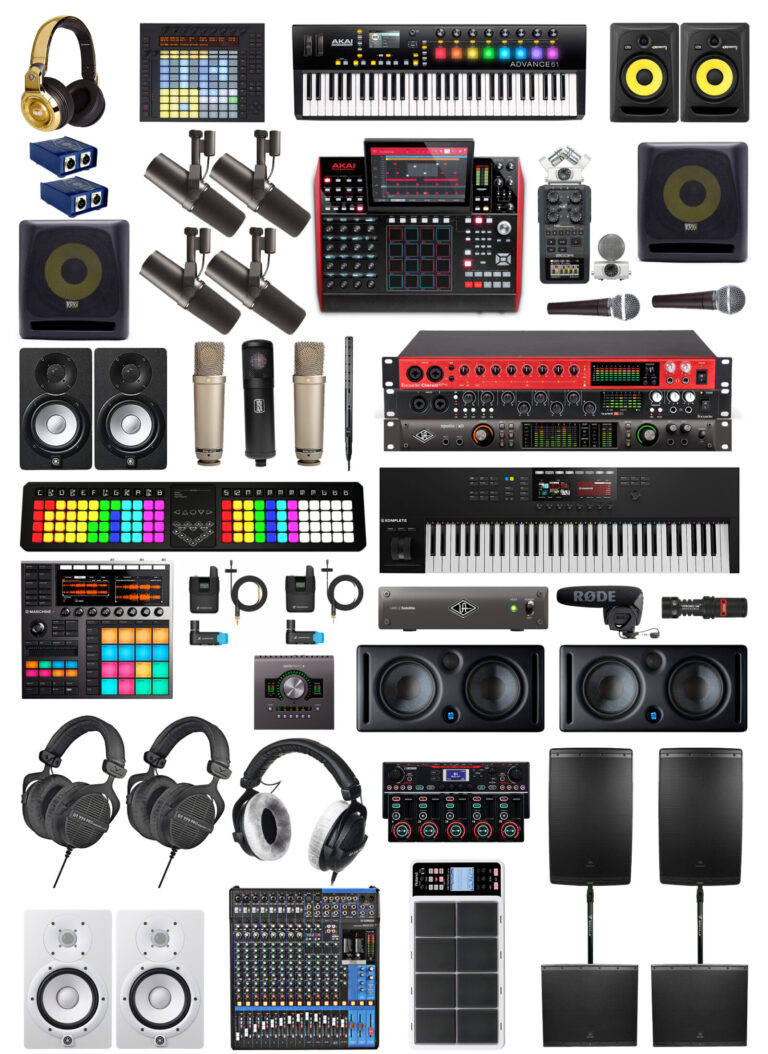
Industry-Leading Equipment at Sacramento’s Premier Recording Studio
At Live Action Music, we pride ourselves on being a top-tier Sacramento recording studio equipped with cutting-edge technology to meet the demands of today’s professional music creators. Whether you’re tracking vocals, producing beats, mixing a single, or laying down a full album, our gear lineup ensures you’re working with the same tools trusted by industry leaders.
No matter your vision, our space is tailored to deliver radio-ready sound quality.
Inside our Sacramento recording studio, you’ll find an impressive array of modern equipment, including:
Native Instruments Komplete Kontrol S61 – for expressive playing and seamless software integration.
Universal Audio Apollo X8 and Apollo Twin X – delivering pristine audio conversion and the power of UAD plug-ins for real-time analog emulation.
Maschine+ – the standalone groovebox that empowers producers with hands-on control and deep integration.
Theoryboard – a revolutionary MIDI controller that bridges music theory and creative experimentation.
Yamaha MGX16U – for reliable, high-quality analog mixing and sound shaping.
And that’s just scratching the surface. We consistently update and refine our setup to ensure you’re working with the latest and most respected audio tools in the industry.
When you book time at Live Action Music, you’re not just reserving space—you’re unlocking access to some of the best audio production gear in Northern California. Come see why artists, producers, and creatives choose us as their go-to Sacramento recording studio.
40+ Years of Industry Experience, Right Here in Sacramento
When you choose Live Action Music, you’re not just booking time at a Sacramento recording studio—you’re forming a creative partnership rooted in over 40 years of hands-on experience in the music and entertainment industry.
From the moment you step into our studio, you’re welcomed by a team of seasoned professionals who are deeply committed to your growth as an artist. We’ve worked with everyone from local talent to platinum-selling artists, and we bring that same level of attention, precision, and passion to every session—regardless of where you are in your journey.
Our mission is simple: help you bring your sound to life with clarity, style, and purpose. We don’t just hit “record”—we collaborate with you, guiding you through the technical and creative challenges that come with producing high-quality music. Whether you’re tracking vocals for the first time or producing your next hit single, we’re here to make sure you feel confident, inspired, and supported every step of the way.
But our services don’t stop at sound.
In today’s fast-moving digital world, visual content is just as important as audio, and that’s where we go beyond the average Sacramento recording studio. Every artist who records with us has the opportunity to pair their session with professional video production, whether it’s behind-the-scenes content, social media reels, or a polished music video. Our in-house video team ensures you leave with not only the sound of a star, but the look of one too.
With Live Action Music, you get more than a place to record—you gain a creative ally, a strategic partner, and a full-service media production experience designed to elevate your artistry, expand your brand, and help you stand out in a competitive music landscape.